The client priority filter in the lists tab allows you to create your own client priority filter displayed in client records and the client grid. The priority filter can be ordered and content coloured to make identification easy in the grid.
To create/edit your own client priority filters
- Select the 'Admin' tab from the main menu.
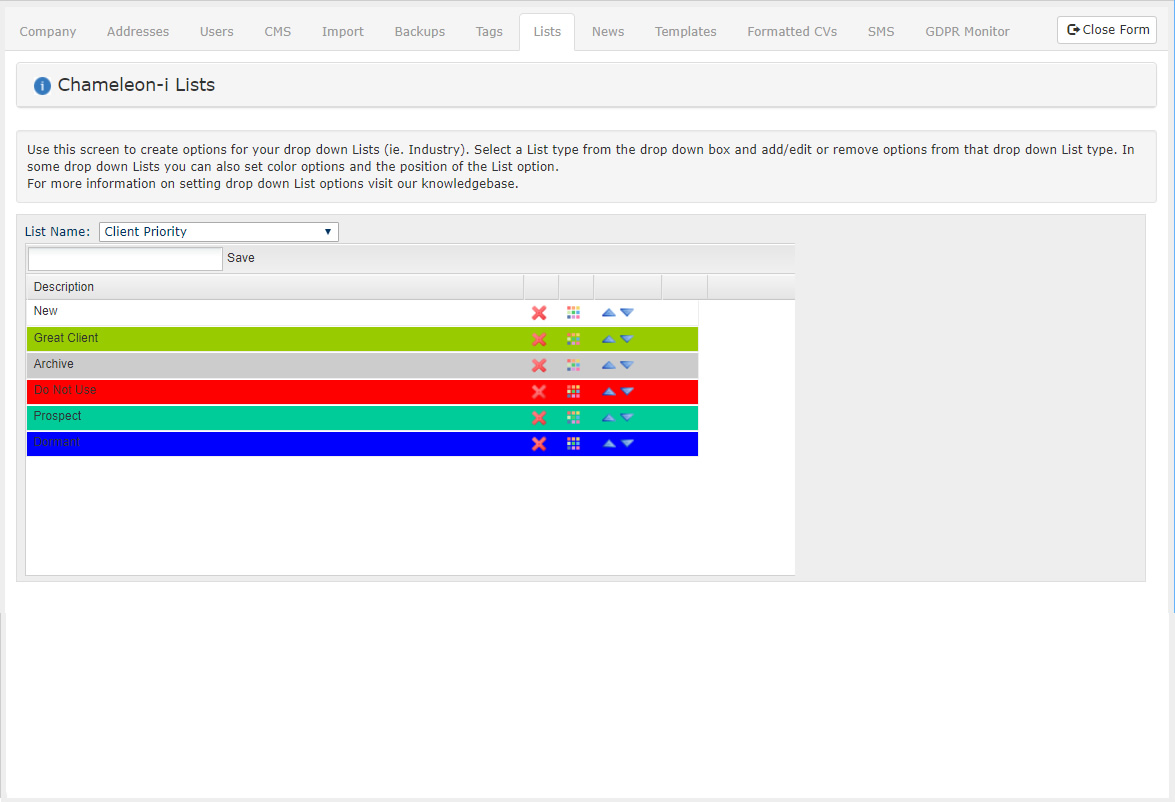
- Select the 'Lists' tab.
- Select 'Client Priority' from the drop-down box.
- Enter your priority name in the text box and press the 'Save' button to upload it.
- The 'Coloured grid' button enables you to associate a colour with the priority filter. When companies have a status assigned they are listed in the results grid coloured appropriately.
- Use the 'Up/Down' arrows to order the filter to meet your requirements.
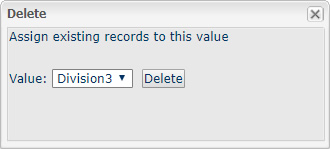
- Click the 'X' to delete obsolete priority filters.
To edit an existing entry 'Double Click' on the entry you wish to edit, this will make the line item editable, edit as required then click away anywhere on the screen to confirm the edit.
Note that 'New' cannot be deleted/edited as this is a system-wide default filter.
When you click the 'X' to delete an obsolete entry, the following pop will display requesting that you re-assign all records to another in your list. You must do this to delete it from the available drop-down options.