
You can create your own default email templates for use with actions including sending CVs, interview confirmation, etc.
Before starting out please read all this article and familiarise yourself with creating new wizards, incorrectly setting up new wizards will have knock-on effects on running action from the database.
- Select 'Admin' from the main menu.
- Select the 'CMS' tab.
- From the 'Select Page' drop-down list select the template 'New'.
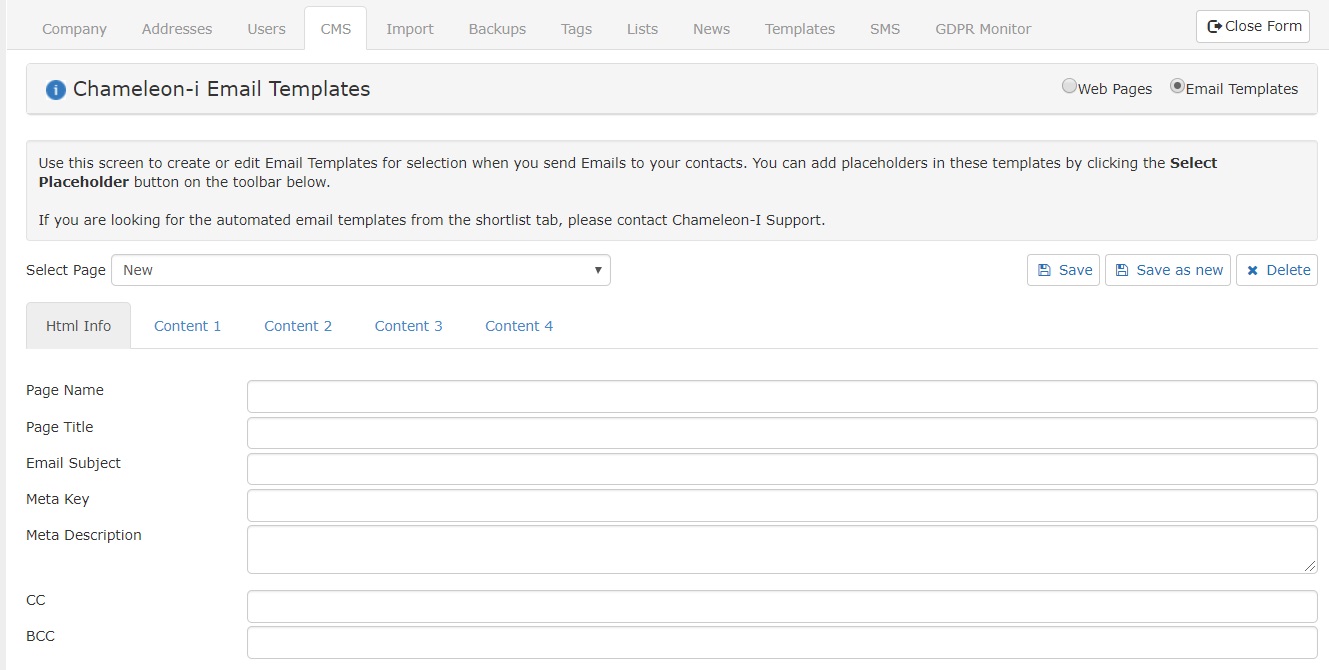
The page will default to the HTML information screen.
For the email wizards templates to work it is essential that all templates are named correctly using the below template names:
Candidate templates
- Wizard-Candidate 1st Interview
- Wizard-Candidate 2nd Interview
- Wizard-Candidate 3rd Interview
- Wizard-Candidate CV Send
- Wizard-Candidate Offer
- Wizard-Candidate Reject
- Wizard-Candidate Placement
Client templates
- Wizard-Client 1st Interview
- Wizard-Client 2nd Interview
- Wizard-Client 3rd Interview
- Wizard-Client CV Send
- Wizard-Client Offer
- Wizard-Client Reject
- Wizard-Client Placement
- Wizard-Client CV Send On Spec
The Page Title, Meta Key and Meta Description fields can be ignored for email templates.
Enter the desired subject in the email subject line and click the 'Save as New' button at this stage.
Select the 'Content 1' tab from the CMS menu to edit the message of your email.
Enter your Email text into the panel or overwrite existing text.
Make use of the CMS tools to change the font style. If you prefer you can select Source to edit the HTML code directly.
Use Data Placeholders to import Specific information from your database into your bulk emails to personalize them. i.e. Candidate or Client name.
Content 3 contains the default text for the Note that is logged.
Content 4 contains the default text for the Follow Up that is logged.
Information on this is saved as .txt files below enabling you to copy and pasted straight from Word/NotePad. Please do not open with Word as this can cause formatting issues.
Select 'Save as new' to create the new template. Select 'Save' to simply overwrite or make changes to the existing wizard template.
In order for the new template to appear, you will need to log out of Chameleon-i and log back in or simply press the F5 key to reload the browser.