
Did you know you can create company-wide email templates for use with our bulk email tools including images?
This article shows you how to simply embed an image into an email template.
- Select the 'Admin' from the main menu.
- Select the 'CMS' tab.
- From the drop-down menu, select the email template you want to edit and add an image to.
- Select the 'Content 1' tab associated with the template.
- Place your cursor where you want the image to be placed.
- Click the Button with the Icon that has mountains and sun to insert an image.
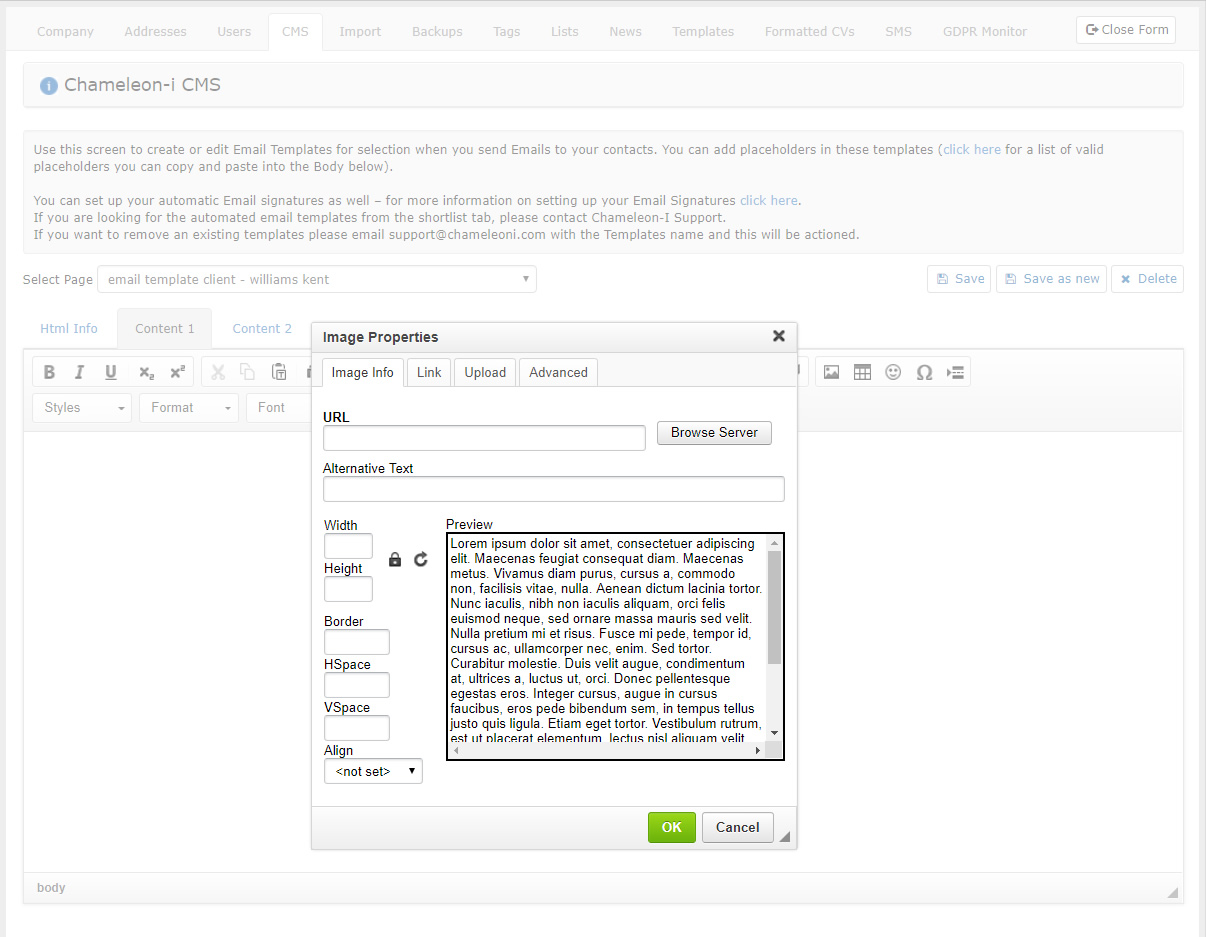
- Click the 'Browse Server' button to select an image already uploaded to the CMS.
- If you need to upload the image simply select the 'Upload' tab, click 'Choose File' button select the file and press 'Send it to the Server' button.
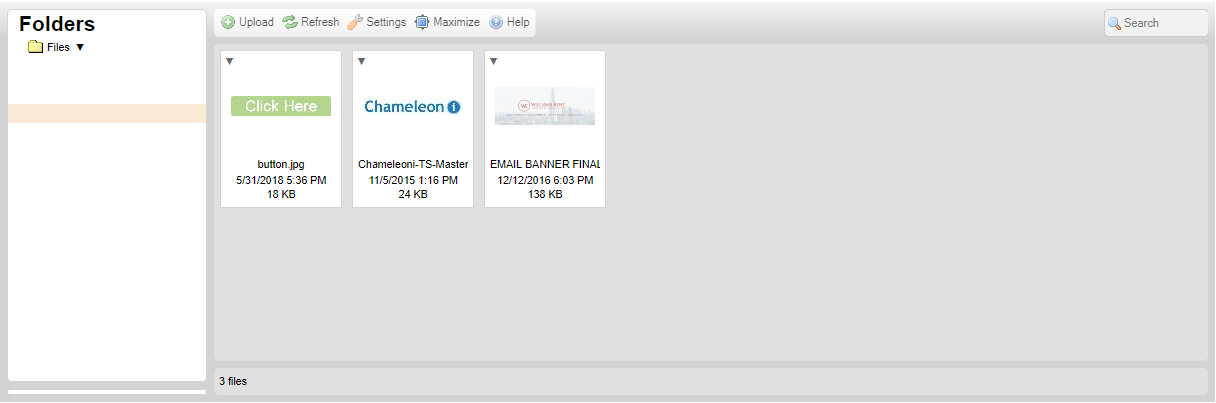
- Double click on the image you want to pop it into the image editor.
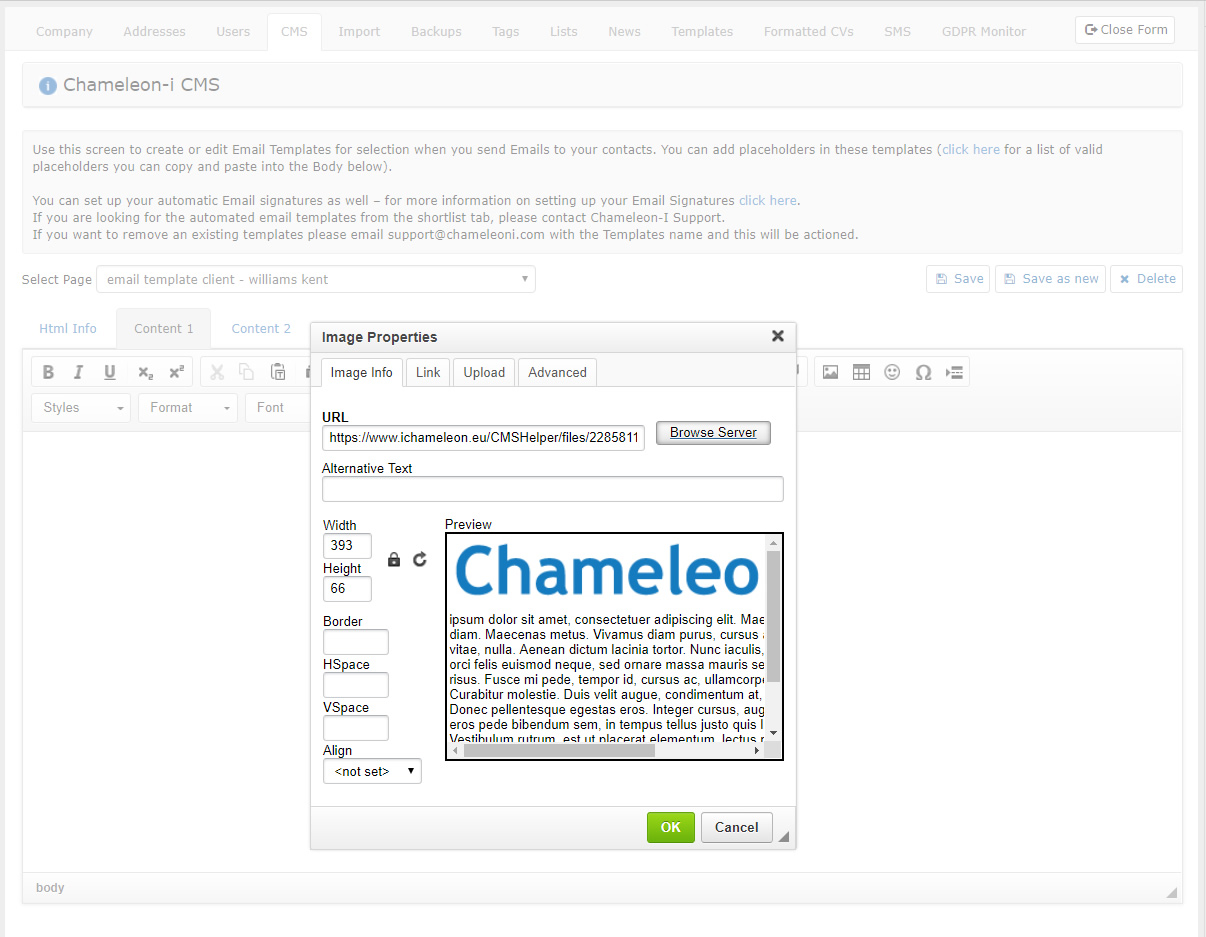
- Click 'OK' to pop the image into the ' Content 1' tab.
- The image is now inserted into the body of the template.
- When completed click on the 'Save' button.
Please note that you can NO LONGER set the width and height of the image, setting these will be ignored by email programs, they will display the original image uploaded. You now need to re-size the original image to the size you want to be displayed to your end users.
If you are not happy with an image and want to remove it, click on the image so it is highlighted and click the delete key on your machine.
Important: For the email templates to work it is essential that all templates are named correctly using the following format:
For candidate template they should be named - 'Email Template Candidate - name here'
For client template they should be named - 'Email Template Client - name here'
The Page Title, Meta Key and Meta Description fields are not used with email templates.